As the world of technology evolves, remote IoT (Internet of Things) setups are becoming increasingly popular, particularly for individuals and businesses seeking to automate processes and enhance connectivity. Using a Raspberry Pi as the backbone of your IoT system offers unparalleled flexibility and cost-effectiveness. In this article, we'll explore the best ways to set up a remote IoT system behind a router using Raspberry Pi, ensuring secure and reliable communication.
Remote IoT setups allow users to control devices from anywhere in the world, opening up possibilities for smart homes, industrial automation, and more. By leveraging the power of Raspberry Pi, you can create a robust and scalable IoT infrastructure that meets your specific needs. This guide will walk you through the essential steps to achieve this, ensuring optimal performance and security.
Whether you're a hobbyist or a professional looking to implement IoT solutions, understanding how to configure Raspberry Pi behind a router is crucial. With the right setup, you can streamline operations, reduce costs, and improve efficiency. Let's dive into the details and explore the best practices for creating a remote IoT system using Raspberry Pi.
Read also:Kdot The Ultimate Guide To Understanding The Rappers Impact And Legacy
Table of Contents
- Introduction to Remote IoT with Raspberry Pi
- Raspberry Pi Overview
- Why Choose Remote IoT?
- The Setup Process
- Network Configuration for IoT
- Security Measures for Remote IoT
- Software Options for IoT
- Troubleshooting Common Issues
- Use Cases for Remote IoT
- Conclusion
Introduction to Remote IoT with Raspberry Pi
Remote IoT systems are revolutionizing the way we interact with devices. By placing Raspberry Pi behind a router, you can create a secure and efficient IoT setup that enables remote access and control. This section will provide an overview of the benefits and considerations involved in setting up such a system.
Understanding IoT and Raspberry Pi
IoT refers to the network of physical devices embedded with sensors, software, and connectivity, enabling them to exchange data. Raspberry Pi, a compact and affordable single-board computer, serves as an ideal platform for IoT projects due to its versatility and open-source support.
Key Benefits of Remote IoT
- Enhanced flexibility in device management
- Cost-effective solution for automation
- Improved scalability for large-scale deployments
Raspberry Pi Overview
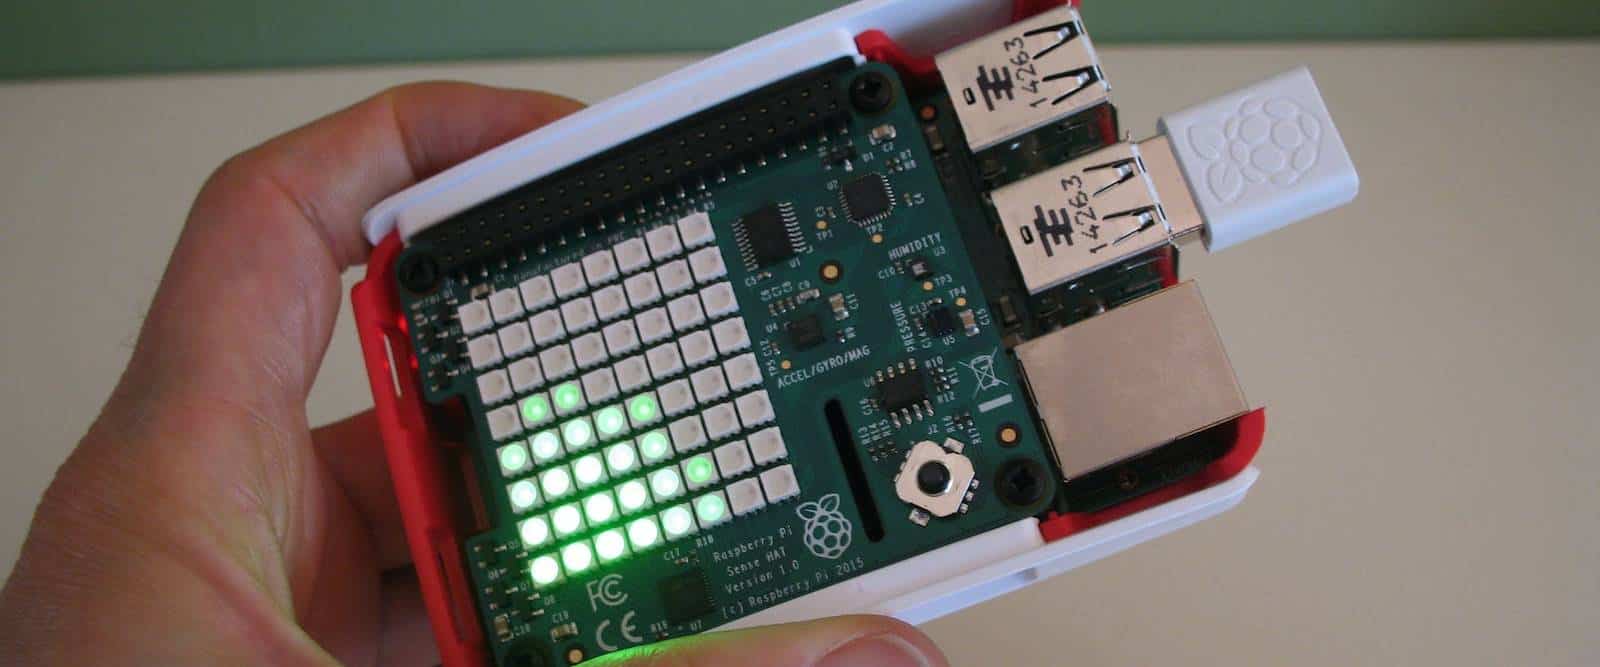
Raspberry Pi is a powerful tool for developers and enthusiasts alike. Its compact design and affordability make it an excellent choice for IoT projects. In this section, we'll explore the different models of Raspberry Pi and their suitability for remote IoT setups.
Popular Raspberry Pi Models
- Raspberry Pi 4 Model B
- Raspberry Pi Zero W
- Raspberry Pi 3 Model B+
Key Features of Raspberry Pi
Raspberry Pi offers a range of features that make it ideal for IoT applications, including GPIO pins for interfacing with sensors, Wi-Fi and Bluetooth connectivity, and support for various operating systems.
Why Choose Remote IoT?
Remote IoT setups provide numerous advantages over traditional local networks. In this section, we'll discuss the reasons why remote IoT is becoming the preferred choice for many users.
Increased Accessibility
With remote IoT, you can access and control your devices from anywhere in the world, provided you have an internet connection. This level of accessibility is invaluable for managing smart home systems or monitoring industrial processes.
Read also:Kai Madison Trump Unveiling The Life Of Donald Trumps Granddaughter
Improved Security
By configuring your Raspberry Pi behind a router, you can implement advanced security protocols to protect your IoT devices from unauthorized access. This ensures the safety and integrity of your data.
The Setup Process
Setting up a remote IoT system using Raspberry Pi involves several key steps. In this section, we'll walk you through the process, ensuring a smooth and efficient setup.
Step 1: Hardware Requirements
- Raspberry Pi board
- MicroSD card
- Power supply
- Router with internet access
Step 2: Installing the Operating System
Choose an appropriate operating system for your Raspberry Pi, such as Raspberry Pi OS or Ubuntu. Follow the installation instructions to set up the OS on your microSD card.
Network Configuration for IoT
Configuring your network is crucial for ensuring seamless communication between your Raspberry Pi and other IoT devices. In this section, we'll explore the best practices for network setup.
Connecting Raspberry Pi to the Router
Use an Ethernet cable or Wi-Fi to connect your Raspberry Pi to the router. Ensure that the connection is stable and reliable for optimal performance.
Setting Up Port Forwarding
Port forwarding allows you to access your Raspberry Pi from outside your local network. Configure your router to forward specific ports to the IP address of your Raspberry Pi.
Security Measures for Remote IoT
Security is a top priority when setting up a remote IoT system. In this section, we'll discuss the best practices for securing your Raspberry Pi and protecting your data.
Implementing Firewall Rules
Use a firewall to restrict access to your Raspberry Pi and prevent unauthorized connections. Tools like ufw (Uncomplicated Firewall) make it easy to configure firewall rules.
Using Secure Communication Protocols
Employ secure communication protocols such as SSH (Secure Shell) and HTTPS to encrypt data transmitted between your Raspberry Pi and remote devices.
Software Options for IoT
Several software solutions are available for IoT projects. In this section, we'll explore some of the best options for configuring your Raspberry Pi for remote IoT.
Node-RED
Node-RED is a popular open-source tool for wiring together hardware devices, APIs, and online services. It simplifies the process of creating complex IoT workflows.
Home Assistant
Home Assistant is a home automation platform that allows you to control and monitor your IoT devices from a centralized interface. It integrates seamlessly with Raspberry Pi and offers a wide range of features.
Troubleshooting Common Issues
Despite careful planning, issues may arise during the setup process. In this section, we'll address common problems and provide solutions to help you resolve them.
Connection Problems
If you're experiencing connection issues, check your network settings and ensure that your Raspberry Pi is properly connected to the router. Verify that port forwarding is correctly configured.
Security Alerts
Regularly monitor your system for security alerts and update your software and firmware to address any vulnerabilities.
Use Cases for Remote IoT
Remote IoT setups have a wide range of applications across various industries. In this section, we'll explore some of the most common use cases for Raspberry Pi-based IoT systems.
Smart Home Automation
Create a smart home system that allows you to control lights, thermostats, and security cameras remotely using your Raspberry Pi.
Industrial Monitoring
Monitor and manage industrial processes in real-time, ensuring optimal performance and reducing downtime.
Conclusion
Setting up a remote IoT system using Raspberry Pi offers numerous benefits, including enhanced accessibility, improved security, and cost-effectiveness. By following the steps outlined in this guide, you can create a robust and scalable IoT infrastructure that meets your specific needs.
We encourage you to share your experiences and insights in the comments section below. Additionally, feel free to explore other articles on our site for more information on IoT and related technologies. Together, let's build a smarter, more connected world!
Data sources and references: